
A black cat is the easiest Halloween subject to draw and the easiest one to ruin, and both happen for the same reason.
Somebody in a comment last October told me her cat looked like a black blob. She sent it over. It was a genuinely good cat drawing.
Correct proportions, careful whiskers, fur texture on the chest, little claws. Then she had filled the whole thing in black and every one of those decisions had vanished.
That is the trap. A black cat is not a cat you colour in at the end. It is a silhouette, and a silhouette is read entirely by its outline and by the few shapes you leave white. Everything you draw inside it is going to disappear, so the work has to happen somewhere else.
Once you accept that, learning how to draw a black cat gets much easier and much faster.
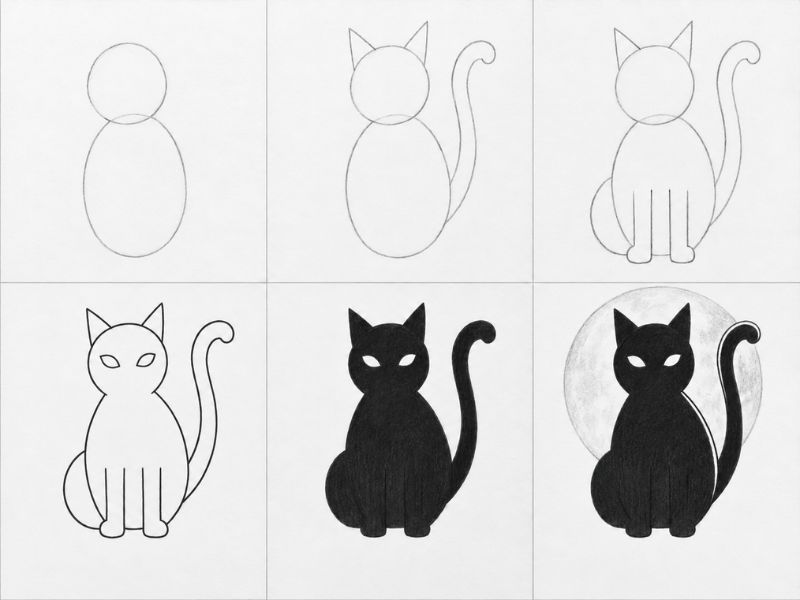
What You’ll Need
- A Pencil
- A Black Fineliner or brush pen
- Quality Paper
- A White Gel Pen
How to Draw a Black Cat Step by Step
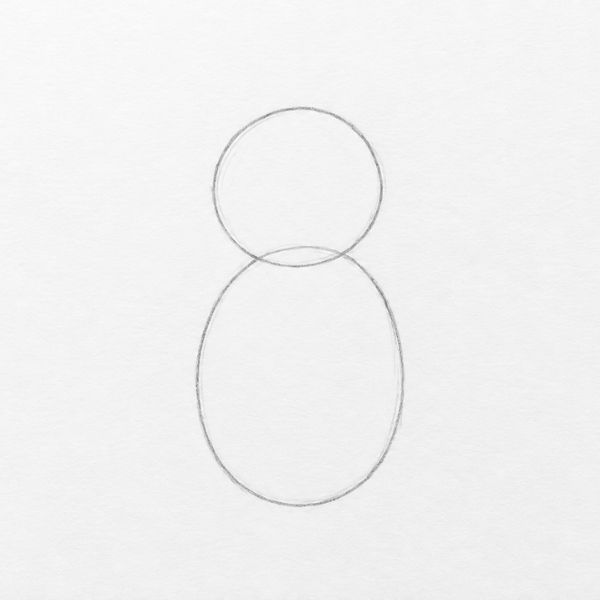
Step 1: A circle and an oval
Draw a circle near the top of the page for the head. Under it and slightly to the right, draw an oval about twice the width of the circle for the body, sitting on an invisible line.
Keep them light. Everything from here builds on top and nothing gets moved.
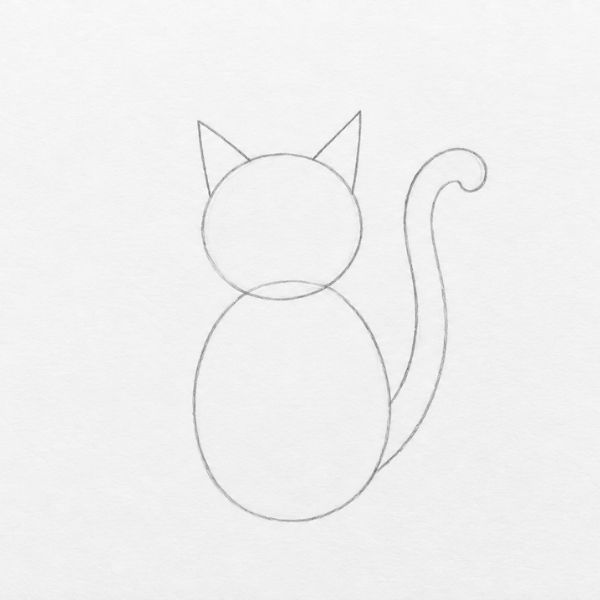
Step 2: Ears and tail
Two triangles on the head, set apart rather than close together. Wide-set ears read as cat from a long way off. Close-set ears read as fox.
Then the tail: one curve rising from the right side of the body, higher than the head. A tail that stays low disappears into the body once everything goes black.
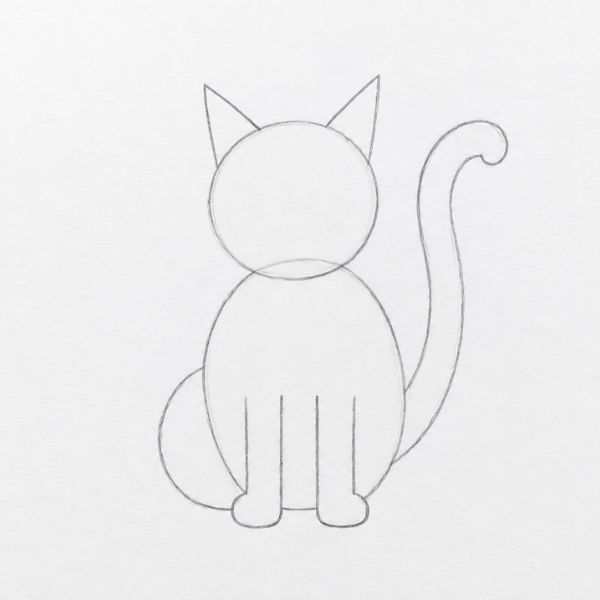
Step 3: Legs and haunch
Two front legs dropping straight from the front of the body, and one curved haunch at the back. The haunch is the rounded shape over the back leg and it is what stops a sitting cat looking like a bottle.
Keep the gap between the front legs open. It will matter in a moment.
Step 4: Join it into one outline
This is the step that decides whether the drawing works.
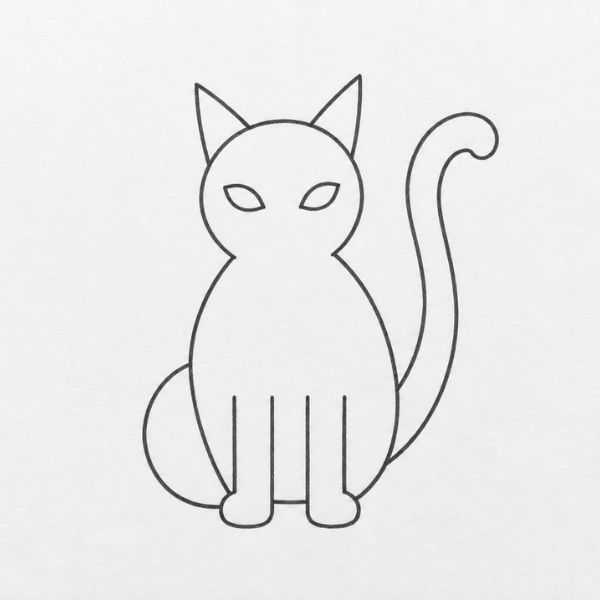
Go around the whole cat and connect everything into a single continuous outline. Lose the construction lines where shapes overlap. You want one closed shape, not a circle sitting on an oval with legs attached.
While you are there, exaggerate. Make the ears a little sharper, the back a little more arched, the tail a little more curled. A silhouette has no interior detail to carry it, so the outline has to do all the work and a timid outline reads as nothing at all.
Step 5: Fill it black, leave the eyes
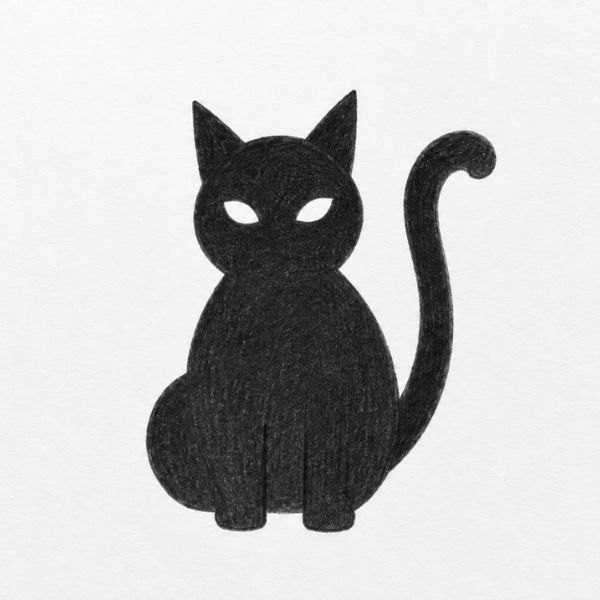
Now go solid. Ink the whole shape in flat black.
Leave two almond shapes for the eyes as bare paper. Not circles. Almonds, tilted slightly, with the outer corner higher than the inner one.
Those two white shapes are the only thing that turns a black mass back into an animal, so cut them cleanly and do not shade inside them.
If your pen struggles with large areas, outline first and fill inward. Fill from the middle out and the edges go ragged.
Step 6: Rim light and a moon
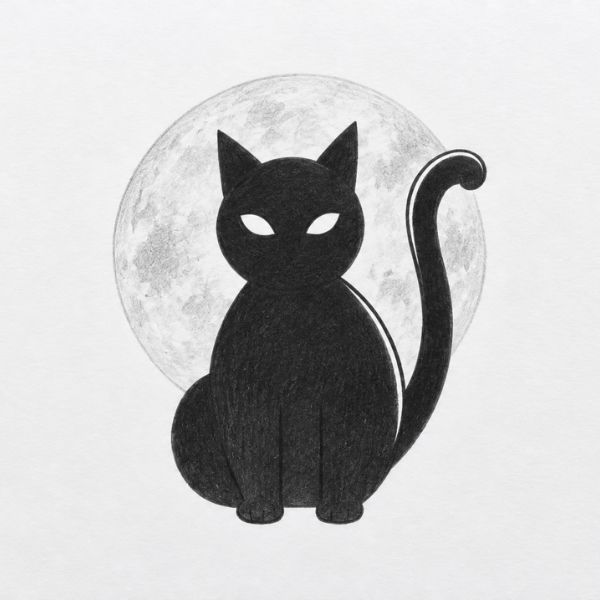
A thin white line down the back and along the top of the tail. If you have a white gel pen, use it. If not, leave a hairline of paper unfilled when you ink.
That single line does something out of proportion to the effort. It separates the cat from the background and gives the black shape a direction of light, which is the difference between a silhouette and a stain.
Then a large pale circle behind the cat, slightly off centre. A moon behind a black cat is a cliche and it is a cliche because it works: it gives the silhouette something to be dark against.
Draw Your Own Cat
Draw it three times rather than once. The first is proportions, the second is the outline, and the third is the one you keep. That is the whole of how to draw a black cat that actually reads as one.
If you want more Halloween subjects to practise the same silhouette thinking on, the bat and the witch hat in my Halloween drawing ideas post work the same way, and so does almost anything you would put against a moon.