
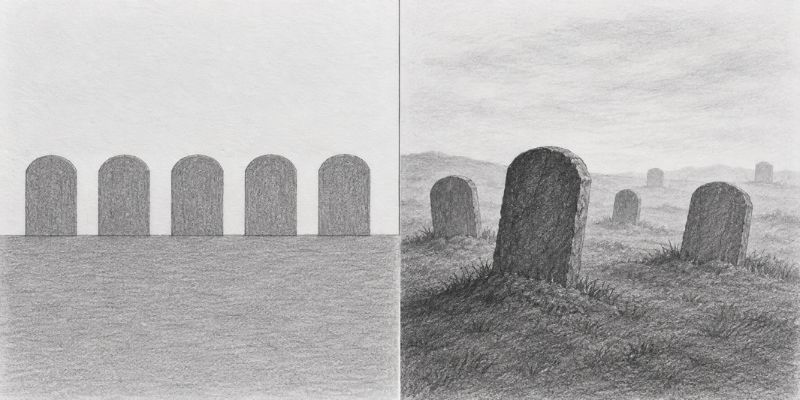
The first graveyard I ever drew looked like a row of garden ornaments, and it took me a while to work out why.
I had drawn five headstones. All the same size, all standing perfectly upright, all evenly spaced along a straight line. Every individual stone was fine. Together they read as a fence.
A graveyard is not a collection of headstones. It is a scene, and scenes need depth. Depth comes from three things that have nothing to do with how well you draw a stone: different sizes, overlap, and lean.
Get those three right and how to draw a graveyard stops being about drawing skill at all. You can build a convincing one from shapes a child could manage. Get them wrong and no amount of cracked stone texture will save it.
What You’ll Need
- A pencil, an eraser, and paper.
- A black fineliner if you want to ink it at the end.
That is the whole kit. This is a silhouette heavy subject and it does not reward a big pencil set.
You can also have a look on easy coffin drawing tutorial for Halloween.
How to Draw a Graveyard Step by Step
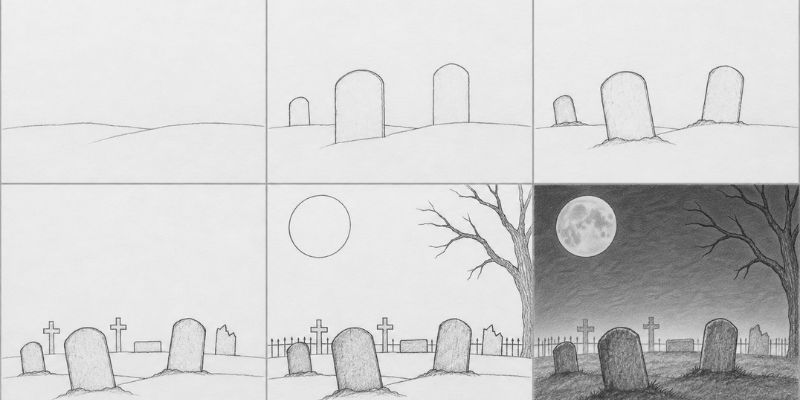
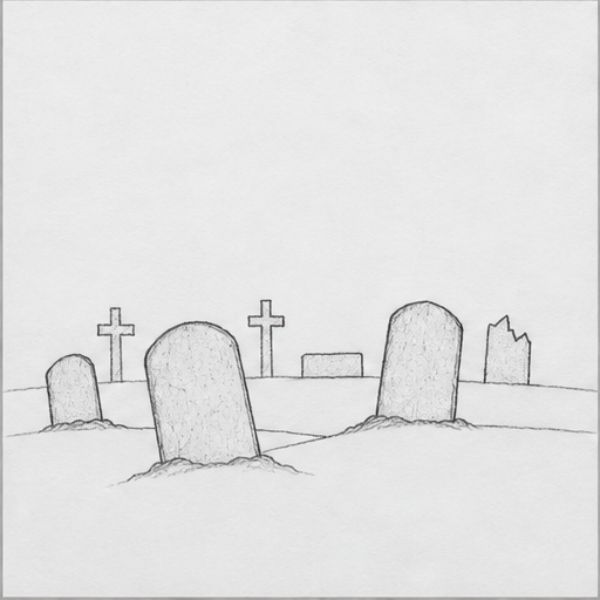
Step 1: A horizon and some uneven ground
Draw a horizontal line across the lower third of the page. That is your horizon.
Then break the ground in front of it with two or three low humps. Not neat mounds, just gentle rises and dips. Perfectly flat ground is the first thing that makes a graveyard look like a car park.
Keep the horizon low. More sky means more room for atmosphere later.
Step 2: Three stones, three sizes
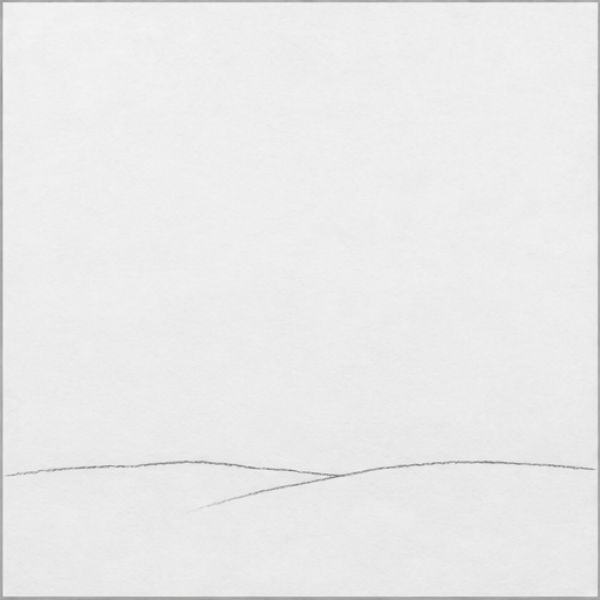
Draw three simple headstone shapes. A rectangle with a rounded top is enough.
Make them clearly different sizes. One large near the bottom of the page, one medium in the middle, one small up near the horizon. Different sizes at different heights is what tells the eye they are at different distances.
Do not space them evenly. Two close together and one apart looks natural. Three evenly spaced looks like a diagram.
Step 3: Lean them and sink them
This is the step that does the most work in the whole drawing.
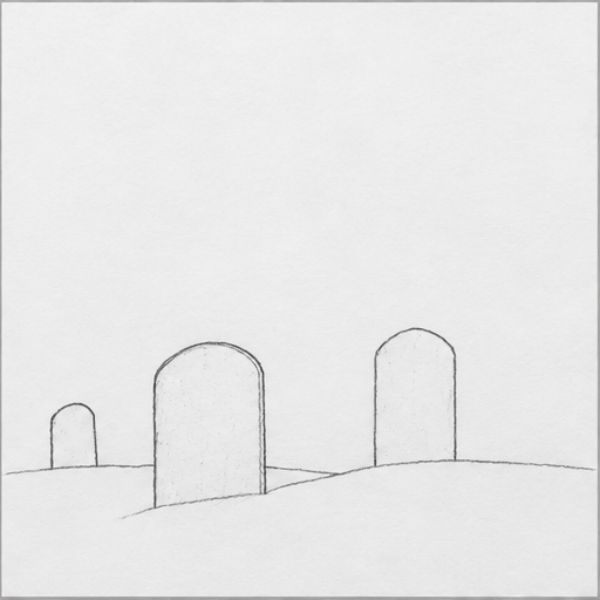
Tilt each stone a different way. One leaning left, one leaning right, one nearly upright. Not dramatically, just a few degrees. Upright stones read as a well kept cemetery. Leaning ones read as old, forgotten, and slightly wrong, which is what you want.
Then sink them. Draw the base of each stone slightly below the ground line rather than sitting on top of it, and add a small mound of earth or grass around the bottom.
A stone that sits on the ground looks placed. A stone that comes out of the ground looks like it has been there a hundred years.
Step 4: Fill the middle distance with overlap
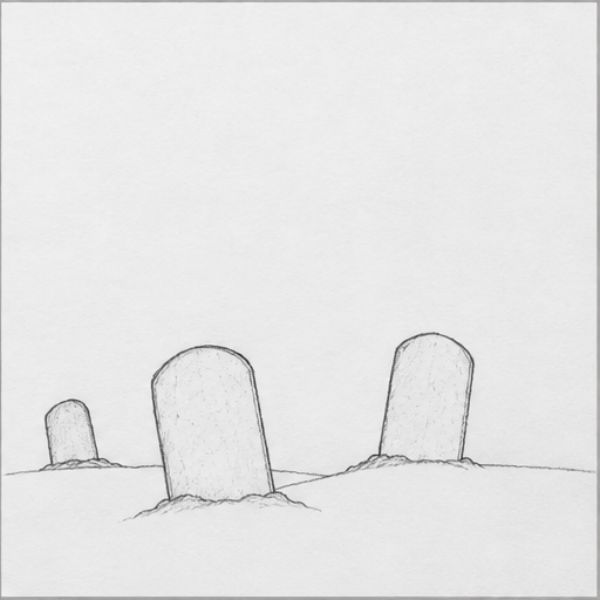
Add four or five more shapes behind the first three: crosses, flat slabs, a broken stone with the top missing.
The rule here is overlap. Every new stone should be partly hidden behind one you have already drawn. Overlap creates depth faster than perspective does, and it works even when your perspective is imperfect.
Make them smaller and simpler as they go back. Distant stones are shapes, not objects. Do not draw detail you would not be able to see.
Step 5: A tree, a fence, a moon
Now frame it.
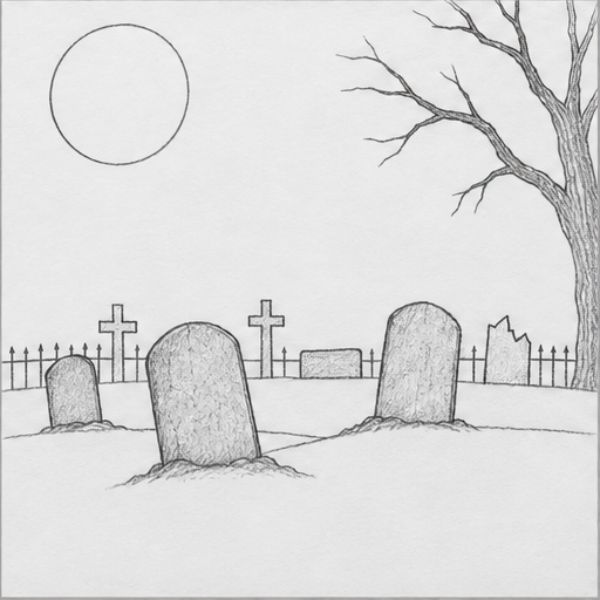
A bare tree at one side, drawn as a silhouette with branches that split at uneven angles. Put it partly out of frame. A tree fully inside the picture becomes a subject. A tree crossing the edge becomes a frame.
A low iron fence running along the horizon, drawn as simple vertical strokes. It sets the boundary and it sells the location instantly.
Then a moon behind everything, slightly off centre. Not directly above the main stone.
Step 6: Dark at the front, pale at the back
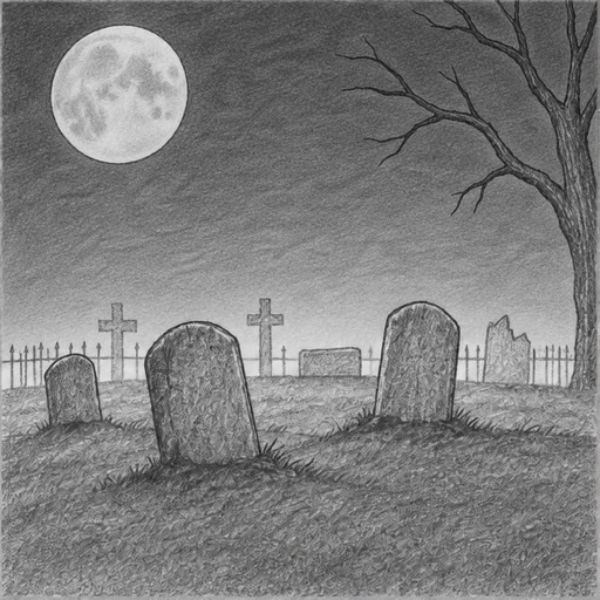
Shade the foreground stones heavily and the distant ones barely at all.
That single decision creates more depth than everything else combined. Distant things are paler, softer and lower contrast, and reproducing that is called atmospheric perspective. It is the difference between a flat drawing and one with air in it.
Darken the ground at the very bottom of the page and let it lighten as it recedes. Add a few tufts of grass at the base of the nearest stones only.
Leave the moon and the sky around it as clean untouched paper.
The Squint Test
Hold the drawing at arm’s length and half close your eyes.
You should see three clear bands: a dark foreground, a mid grey middle, and a pale distance. If it all collapses into one grey mass, the values are too similar and the depth is gone.
The fix is almost always the same. Darken the nearest stone more than feels comfortable and lighten the farthest ones. Push the two ends apart and the middle sorts itself out.
Go Draw Something Old
Draw it three times. The first teaches you the sizes, the second teaches you the lean, and the third is the one you keep. That is genuinely all how to draw a graveyard comes down to.
Once the overlap and value trick clicks, it works on almost any scene you want to build. If you want a single subject to practise the same shading on first, the coffin tutorial on the site is a good place to start.
And the rest of my Halloween drawing ideas post is full of things that suit this treatment.