
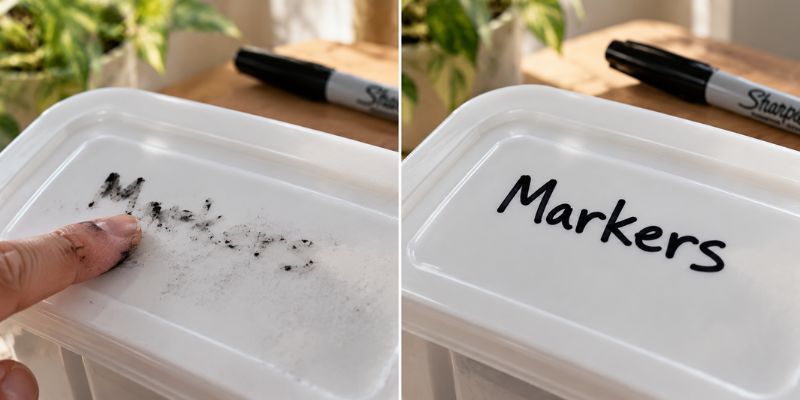
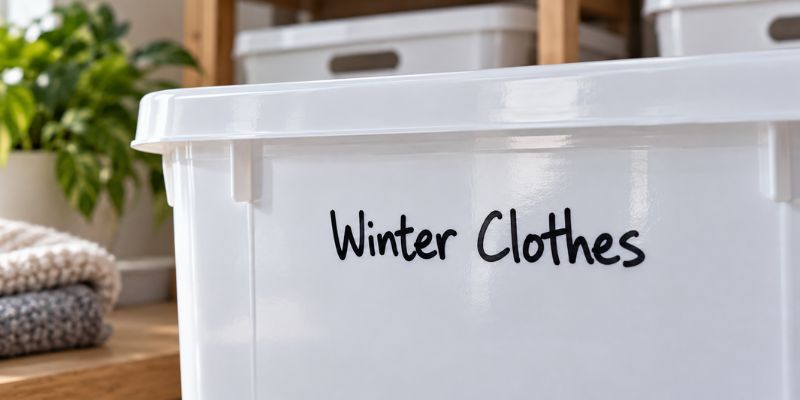
I labeled an entire set of storage bins with a Sharpie once. Neat, clear, color-coded. Looked great. Two weeks later – gone. Not faded. Gone. The plastic looked like I’d never touched it.
That’s when I actually looked into why permanent marker doesn’t stay permanent on plastic. Turns out there’s a real reason, and once you understand it, fixing the problem takes maybe ten extra minutes of prep. The marker itself isn’t the issue. The surface is.
Plastic is non-porous. Ink doesn’t absorb into it the way it does with paper, fabric, or wood. It just sits on top, exposed to every finger, cloth, and splash of water that comes along.
Add the invisible oil film that most factory-made plastic has on its surface – a release agent left over from the molding process and you’ve got ink trying to stick to a surface that’s actively resisting it.
Here’s what actually works: a four-step process. Clean the surface, choose the right marker, prep if needed, and seal. That’s it.
Follow those steps and you’ll have permanent marker on plastic that genuinely stays permanent – through washing, handling, and years of use.
Why Permanent Marker Won’t Stay on Plastic (The Real Reason)
Before you buy anything or start sanding, it’s worth understanding what’s actually happening.
Plastic surfaces are non-porous. When you write on paper, the ink soaks into the fibers and bonds. On plastic, there’s nowhere for the ink to go. It dries on top of the surface in a thin film that any amount of friction can lift right off.
Most plastic also has an invisible contamination problem. Factory-molded plastic gets treated with release agents during manufacturing – chemical coatings that help the plastic pop out of molds.
These agents are completely invisible, and they’re essentially designed to stop things from sticking. So when you write on a brand-new plastic bin and the marker comes off in a week, the release agent is likely the main culprit.
Smooth, glossy plastic is the worst offender. It has the least surface texture for ink to grip. Textured or matte plastic is more forgiving because it has microscopic irregularities that give ink more to hold onto.
Secondary enemies: UV light breaks down marker pigment over time, and repeated friction (handling, wiping, washing) gradually wears the ink layer away. Neither of these is something you can fully eliminate, but sealing handles both significantly.
Understanding plastic surface energy and why ink doesn’t adhere – Britannica
Step 1: Clean the Surface Properly
This is the step most people skip. It’s also the reason most marker jobs fail.
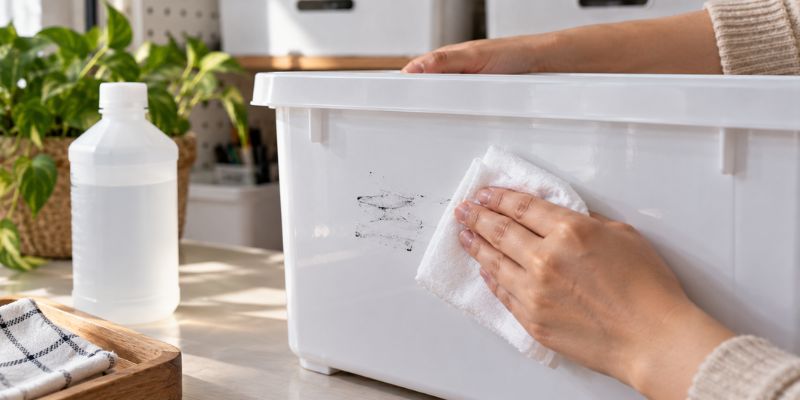
That invisible oil film has to go before you mark anything. The single most effective thing you can do is wipe the plastic with 70% isopropyl alcohol on a clean, lint-free cloth.
One thorough wipe removes the release agent, skin oils, and any dust. Let it air dry for 10 to 15 minutes. Don’t rush this part.
No isopropyl alcohol? Dish soap and warm water works. But you must rinse completely and let the surface dry fully before marking. Any soap residue left behind acts like a barrier between the ink and the plastic.
One thing that trips people up after cleaning: don’t touch the surface with bare hands. Finger oils re-contaminate the plastic immediately. Handle the item by its edges, or use a clean cloth.
For outdoor plastic or anything that sees heavy use like garden pots, outdoor furniture, tool handles – go stronger. Acetone (standard nail polish remover) cuts through contamination that isopropyl alcohol won’t touch. Wipe, let dry 15 minutes, then mark.
Step 2: Choose the Right Permanent Marker
Not all “permanent” markers perform the same on plastic. The type of ink matters a lot.
Standard Sharpie markers are alcohol-based. They dry fast, give you fine detail, and are easy to find anywhere. On plastic, they work reasonably well but they absolutely need sealing on smooth surfaces, and they won’t survive repeated washing even with a sealer.
Oil-based paint markers are the better choice for anything that gets handled or washed. Brands like Sharpie Oil-Based Paint Markers, Molotow, and Posca bond more aggressively to non-porous surfaces.
Because the oil-based formula grips differently than alcohol ink. They take longer to dry – give them 20 to 30 minutes before touching. But once they’re set and sealed, they hold up far better long-term.
If you’re labeling food containers, water bottles, or kids’ toys, use oil-based only. I’ve watched standard Sharpie labels survive one dishwasher cycle and disappear on the second. Oil-based markers sealed with waterproof clear coat can survive dozens of washes.
For detailed writing or fine lines, standard Sharpie is still practical. Just be realistic about what it needs to survive. Good cleaning, good sealing, and you’re fine for most situations.
If you’re unsure which permanent marker to use for your surface, this guide to the best permanent markers covers all surface types.
Sharpie vs. Oil-Based Paint Markers on Plastic
Here’s the short version: if your plastic item stays dry and isn’t handled heavily, standard Sharpie plus clear coat spray works well. If it gets washed, gripped, or lives outdoors, reach for oil-based paint markers.
The drying time is the main trade-off as oil-based takes patience. But patience now saves you from redoing the whole job in a month.
Dark colors like black, dark blue, deep red also show up better and hold contrast longer than lighter colors on plastic. Something worth knowing if you’re doing labels or designs that need to stay readable.
Step 3: Prep the Surface (Optional But Worth It)
If you’re working on smooth or glossy plastic, this step makes a real difference.
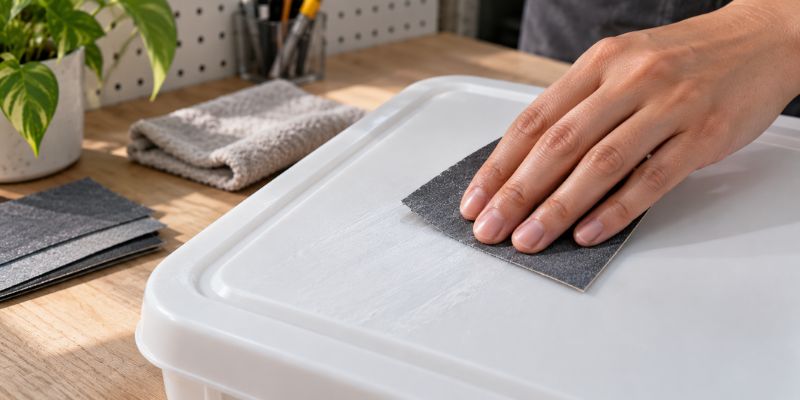
Lightly sand the surface with 220-grit sandpaper. You’re not trying to scratch it up just create enough microscopic texture that the ink has something to grip.
A few passes in one direction is enough. Too much and you’ll leave visible scratches under a transparent sealer.
After sanding, wipe again with isopropyl alcohol to remove the plastic dust. Let it dry before marking. Skipping this wipe after sanding is a mistake. Plastic dust is a contamination layer just like oil.
For textured or matte plastic, you can skip the sanding. The surface already has enough texture to give the ink a grip. Just clean and go.
The more serious option is plastic-bonding primer. Rust-Oleum and Krylon both make spray primers designed specifically for plastic adhesion. Apply a thin coat, let it cure for 30 minutes, then mark over it.
This is the most durable foundation you can give your marker, and it’s the approach I’d use for anything going outdoors or getting heavy use. It adds time, but the result lasts years rather than months.
If you realize mid-project you made a marking mistake, don’t panic! You can still remove the ink before sealing without damaging the surface.
Step 4: Seal It
This step is non-negotiable if you want the marker to stay.
Let the ink dry fully first. For standard Sharpie, one hour minimum. For oil-based paint markers, 24 hours. I’ve ruined more than one project by sealing too soon.
The sealer drags through wet ink and smears it into a blur. Patience here costs you nothing. Impatience costs you the whole job.
Best Sealers for Permanent Marker on Plastic
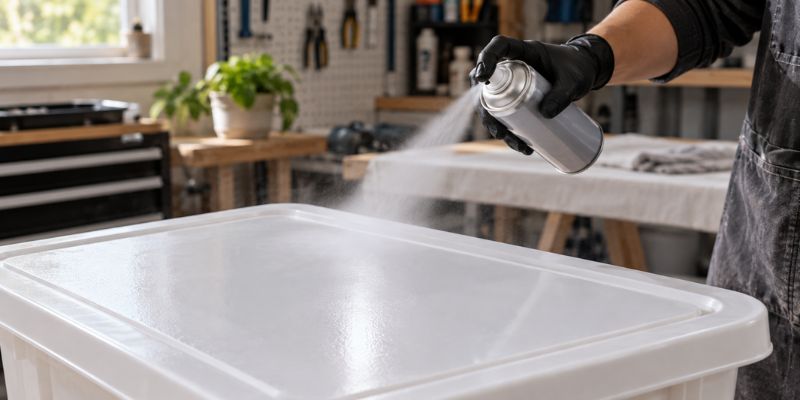
Clear coat spray – best overall option. Krylon Crystal Clear, Rust-Oleum Crystal Clear, or Mod Podge Clear Acrylic Sealer in spray form. Apply 2 to 3 thin coats, 15 minutes apart.
Hold the can 10 to 12 inches from the surface and move in a steady sweeping motion – no hovering in one spot. Thin coats dry evenly; thick coats drip and cloud. For UV-exposed outdoor items, look specifically for “UV protection” on the label.
Mod Podge brush-on – works for light use. Apply with a foam brush (not bristle), very thin coat, let dry completely between coats. The risk here is smearing.
If you apply it too heavy or the ink isn’t fully dry, the brush will drag through and ruin the design. Better for flat decorative items that won’t be handled often.
Clear nail polish – best for small items. Keychains, small labels, phone case designs. Easy to control, dries fast. Not practical for large surfaces – brush strokes show, and coverage is uneven. But for a quick seal on a small area, it’s the most accessible option.
Resin – maximum permanence. Once properly cured (12 to 24 hours), resin is essentially bulletproof over marker. Best for art pieces or decorative items you want to last a lifetime.
Overkill for storage labels, but worth it for anything that matters. Use UV-resistant resin if the item will see light.
For product specifications on clear coat sealers, Rust-Oleum’s official site lists their full range of plastic-compatible clear coats.
Plastic Type Quick Reference
Different plastics behave differently. Here’s a fast guide:
Smooth/glossy plastic (storage bins, buckets, PVC pipe): This is the hardest surface to work with. You need all four steps – clean, sand, mark, seal. Oil-based paint markers give the best results here.
Textured/matte plastic (garden pots, outdoor furniture, tool handles): Better natural adhesion. Clean thoroughly, mark, seal. Sanding usually isn’t necessary.
Flexible plastic (squeeze bottles, cable covers, soft containers): Ink cracks as the plastic flexes. Use a flexible sealer – certain polyurethane sprays stay pliable after curing. Avoid rigid resin on anything that bends.
Clear/transparent plastic (acrylic sheets, clear storage containers): Ink sits visibly on the surface, so any cloudiness from the wrong sealer shows immediately. Use a dedicated clear coat, apply very thin, and test on a small area first.
Plastic that gets washed (food containers, water bottles, kids’ toys): Oil-based paint markers only. Waterproof clear coat, 3 coats minimum. Standard Sharpie will not survive repeated washing, even sealed.
Troubleshooting – Why Is It Still Coming Off?
Ink smeared when I applied sealer. The ink wasn’t fully dry. You can’t rescue a smeared design – clean it off and start again. Next time, wait the full drying time before touching sealer to the surface.
Sealer turned milky or cloudy. Two possible causes: applied too thick in one coat, or humidity was too high when you sprayed. Apply in thinner layers, and don’t seal on a humid or rainy day.
Marker faded after a few weeks outdoors. You need UV-resistant clear coat. Standard clear coat doesn’t protect against sun degradation. Look for “UV protection” on the label specifically.
Ink is still rubbing off even after sealing. The surface wasn’t clean enough before you marked it. Oil contamination breaks the bond between sealer and plastic. Redo from Step 1 – clean with isopropyl alcohol, prep, mark, seal.
Resin yellowed over time. Standard resin yellows with UV exposure. Use UV-stabilized resin for anything that will be near light or windows.
Common Questions About Keeping Permanent Marker on Plastic
Does permanent marker stay on plastic?
On its own, not reliably – especially on smooth or glossy surfaces. Plastic is non-porous, so ink sits on top rather than bonding into the surface. Cleaning and sealing changes that completely.
What sealer works over permanent marker on plastic?
Clear coat spray (Krylon, Rust-Oleum) is the most reliable option for most situations. Mod Podge works for light-use decorative items. Resin gives maximum permanence for art pieces. Nail polish works for small surfaces.
How do you keep Sharpie from rubbing off plastic?
Clean the plastic with isopropyl alcohol, let it dry, mark with Sharpie, let ink dry for at least one hour, then apply 2 to 3 thin coats of clear coat spray. That’s the full process in one sentence.
Does Mod Podge seal permanent marker?
Yes, but use spray Mod Podge rather than brush-on wherever possible. The brush-on version applied too heavily will smear ink that isn’t completely set. Spray gives more control and an even coat.
What permanent marker works best on plastic?
Oil-based paint markers (Sharpie Oil-Based, Molotow, Posca) bond better to plastic than standard alcohol-based Sharpies. For anything that gets washed or lives outdoors, oil-based is the only reliable choice.
The Part Nobody Tells You
Most “permanent marker on plastic” failures come down to one thing: skipping the cleaning step. Not the wrong marker. Not the wrong sealer. Just ink applied to a surface that had an invisible layer of factory oil or skin grease sitting between it and the ink.
Clean the surface first. Every time. Even if the plastic looks clean, it probably isn’t – not at the level that matters for ink adhesion.
The rest of the process – choosing the right marker, prepping the surface, sealing properly, those things matter too. But they all fail if the cleaning step fails. That’s the one I’d internalize before anything else.
If you want to explore creative ways to use permanent markers on plastic and other surfaces, there’s a lot more you can do once you’ve got the adhesion problem solved.